Minikube is a great tool for local Kubernetes setup. In this article, we are going to learn:
- What is minikube?
- Minikube installation
- Interacting with minikube
- Accessing a service
What is Minikube?
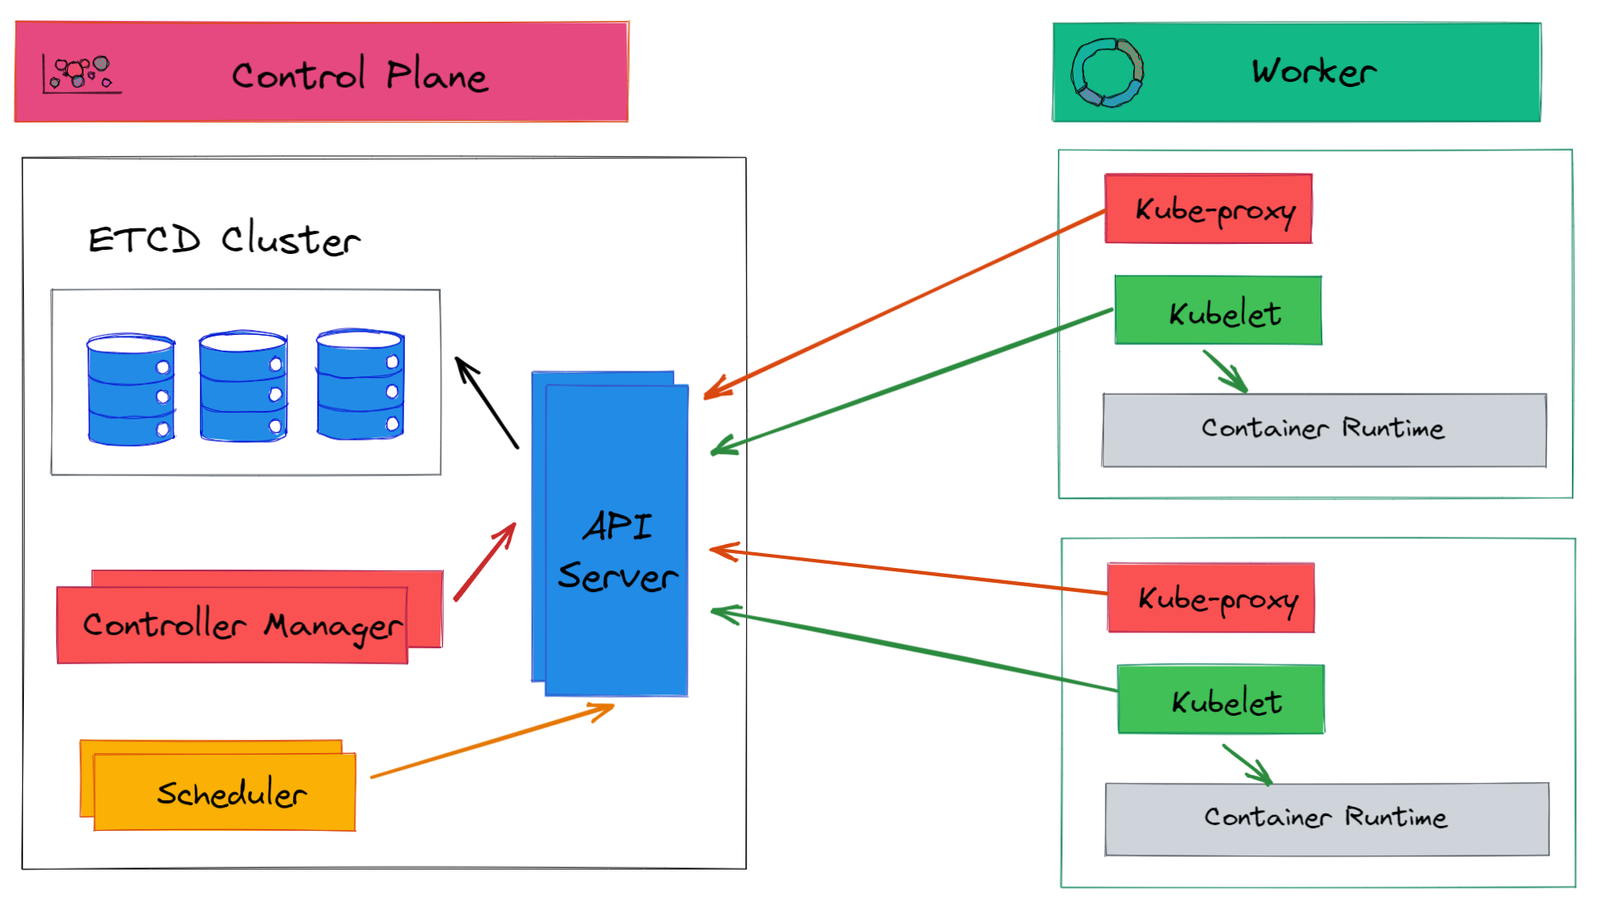
Minikube allows you to run Kubernetes locally. It creates a single-node Kubernetes cluster on your local machine. It’s a great tool for starting local Kubernetes and do a quick prototype.
Minikube installation
To install minikube locally you need to have a container or virtual machine installed. For installation, you can check out official documentation at the minikube page. The simplest thing would be to install minikube with Docker.
Starting Minikube
Once you have minikube installed, you can start it by running command:
minikube startOne of the great tool that comes with minikube is the dashboard. You can start dashboard by running command:
minikube dashboard
Kubectl
Kubectl is the Kubernetes command-line tool. You can use kubectl to deploy applications, inspect and manage cluster resources, view logs, and many more things. To install, check the official documentation.
You can check kubectl reference documentation for details about each command and supported flags. For now, you mostly need to understand the commands listed below:
- kubectl get – list resources (example
kubectl get pods) - kubectl describe – show detailed information about a resource (example
kubectl describe pod <pod_name>) - kubectl logs – print the logs from a container in a pod (example
kubectl logs <pod_name>) - kubectl exec – execute a command on a container in a pod (example
kubectl exec --stdin --tty <pod_name> -- /bin/bash)
You can interact with the minikube cluster using kubectl. For example, to list all pods in all namespace run command:
kubectl get pods -AThis return output like:
NAMESPACE              NAME                                        READY   STATUS    RESTARTS   AGE
kube-system            coredns-74ff55c5b-7cd2g                     1/1     Running   0          22h
kube-system            etcd-minikube                               1/1     Running   0          22h
kube-system            kube-apiserver-minikube                     1/1     Running   0          22h
kube-system            kube-controller-manager-minikube            1/1     Running   0          22h
kube-system            kube-proxy-xm2nd                            1/1     Running   0          22h
kube-system            kube-scheduler-minikube                     1/1     Running   0          22h
kube-system            storage-provisioner                         1/1     Running   2          22h
kubernetes-dashboard   dashboard-metrics-scraper-f6647bd8c-nj6g5   1/1     Running   0          22h
kubernetes-dashboard   kubernetes-dashboard-968bcb79-lk5dg         1/1     Running   0          22h
To check details about Kubernetes cluster run command kubectl cluster-info. This returns output like:
Kubernetes control plane is running at https://127.0.0.1:1069
KubeDNS is running at https://127.0.0.1:1069/api/v1/namespaces/kube-system/services/kube-dns:dns/proxy
To check details about node run command kubectl get nodes. This outputs:
NAME       STATUS   ROLES                  AGE   VERSION
minikube   Ready    control-plane,master   22h   v1.20.7
Creating a POD
Pods are the smallest deployable computing unit that we can create and manage in Kubernetes. A pod contains one or more containers, with shared storage and network resources and specification about how to run containers.
To create a pod, save the below code in a YAML file, say pod.yaml, and run the command kubectl apply -f pod.yaml
apiVersion: v1
kind: Pod
metadata:
  name: product-svc
  labels:
    app: product
spec:
  containers:
    - name: product
      imagePullPolicy: IfNotPresent
      image: techdozo/product-svc:1.0.0
To validate if the pod is created successfully run command kubectl get pods
NAME          READY   STATUS    RESTARTS   AGE
product-svc   1/1     Running   0          2m33s
You can see the pod in the minikube dashboard. You can also check the log from the Kebab menu of the pod.

Accessing application using port forwarding
You can use kubectl port-forwarding to forward the local port to the port of pod in the cluster. Run command kubectl port-forward product-svc 8080:8080 to forward local port 8080 to the pod product-svc port 8080. The product-svc is a microservice that exposes two end-points POST /products/ and GET /products/{productID}. Now, you can access the pod locally using curl or Postman.
curl --location --request POST 'http://localhost:8080/products/' \
--header 'Content-Type: application/json' \
--header 'userId: abc@xyz.com' \
--data-raw '{
    "name": "Apple iPhone 12",
    "description": "Apple iPhone 12 Pro Max 128 GB, Pacific Blue",
    "price": 1700
}'
Creating a Deployment
You can use Kubernetes deployment to create multiple replicas of identical pods. Using deployment pods can be rolled out predictably (rolling update strategy) so that none of the users of your application experience downtime.
To create a pod, save the below code in a YAML file, say deployment.yaml, and run the command kubectl apply -f deployment.yaml
apiVersion: apps/v1
kind: Deployment
metadata:
  name: product
  labels:
    app: product
spec:
  replicas: 3
  selector:
    matchLabels:
      app: product
  template:
    metadata:
      labels:
        app: product
    spec:
      containers:
        - name: product
          imagePullPolicy: IfNotPresent
          image: techdozo/product-svc:1.0.0
You can validate deployment by running the command kubectl get deployment
NAME      READY   UP-TO-DATE   AVAILABLE   AGE
product   3/3     3            3           3h12m
You can validate pods created by deployment by running command kubectl get pods
NAME                      READY   STATUS    RESTARTS   AGE
product-7b865c97d-bfxwt   1/1     Running   1          3h14m
product-7b865c97d-zd8gc   1/1     Running   1          3h14m
product-7b865c97d-zlrtv   1/1     Running   1          3h14m
Creating a Service
A Kubernetes service is an abstraction that defines a logical set of pods (usually determined by a selector) and a policy to access them. There are different types of services in the Kubernetes. For more information, you can check the Kubernetes service.
To create a Kubernetes service of type NodePort, copy the following code in service-nodeport.yaml and run command kubectl apply -f service-nodeport.yaml
apiVersion: v1
kind: Service
metadata:
  name: product-service
spec:
  type: NodePort
  ports:
    - port: 80
      targetPort: 8080
      nodePort: 32000
  selector:
    app: product
This creates a service called product-service. You can check the service section of the minikube dashboard. You can check this article to know the details about other types of services in Kubernetes

The NodePort service defined above, maps pods port 8080 to port 32000 on the host machine.
You can also forward the local port to the service port 80 as kubectl port-forward service/product-service 8080:80 and access the application as described above.
Another way to access the application is by using minikube service by running the command minikube service --url product-service. This output something like
 Starting tunnel for service product-service.
 |-----------|-----------------|-------------|------------------------|
 | NAMESPACE |      NAME       | TARGET PORT |          URL           |
 |-----------|-----------------|-------------|------------------------|
 | default   | product-service |             | http://127.0.0.1:19714 |
 |-----------|-----------------|-------------|------------------------|
 http://127.0.0.1:19714
 ! Because you are using a Docker driver on windows, the terminal needs to be open to run it.
On windows, using docker, accessing nodeport using host machine doesn’t work. This issue was discussed here with no solution.
Common operations
Viewing all services
You can view the URLs for the services in your local cluster by calling minikube service list.

Minikube logs
To troubleshoot you can check minikube log by calling the command minikube logs -f
Minikube Addons
Minikube comes with many addons. You can view the list of addons by running command minikube addons list. You can enable addons by running command minikube addons enable <add_on_name>.

Summary
Minikube is a great way to start development on local Kubernetes cluster. You can deploy application using Kubernetes deployment. The application can be accessed using NodePort service. There are some challenges associated with starting Ingress controller on docker and windows 10 setup.


Discussion about this post